Beginner Guide to Prototyping Displays
Aug 27th 2021
In this guide, you’ll learn how to locate example code and upload it to your microcontroller for prototyping with your display. This article is meant to be used as a tutorial using our 4×20 character OLED, but you can apply this guide to all of our displays.
In this article:
There are two places you can look for free example code to help you get started:
- Download it from our code library
- Download it from our GitHub Repository
Finding Example Code in our Code Library
From our website, head to our Support Center to locate hundreds of free example code written by our engineers, designed specifically for our displays. These resources are organized by display type, but feel free to use the search bar to locate a specific part number that you are looking for code on. Here's a quick step-by-step guide to reference:
- From our website, click Support Center or go to support.newhavendisplay.com
- Click on the Example Code category button
- Browse code by display type and view all articles in the category if needed to expand what's available
- Find the part number you need and click into the article to view the example code
- Copy the code and paste it into your integrated development environment (IDE)
- Edit the code and/or upload it to your microcontroller
What is GitHub?
GitHub is a repository for open-source software where users can find code examples for our displays. You’ll find a wide variety of example codes here available for free. Using these codes will help you see the different features and functions our displays are capable of.

Finding Code on GitHub
Let's get started! Follow these steps to navigate through GitHub and upload example code to your display.
| 1. In the "find a repository" search bar, enter the display part number to see available code. You'll see results start to populate as you type. The part number for our 4x20 slim character OLED is "0420cw" | 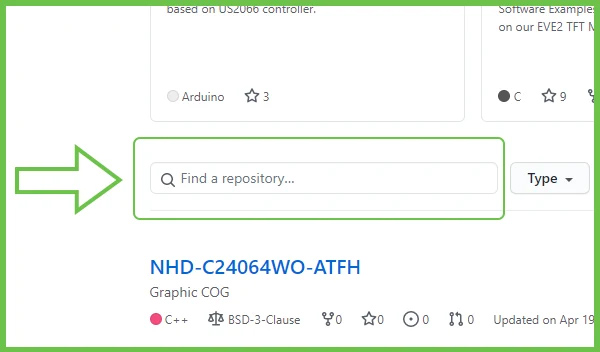 |
| 2. Click to open the repository. | 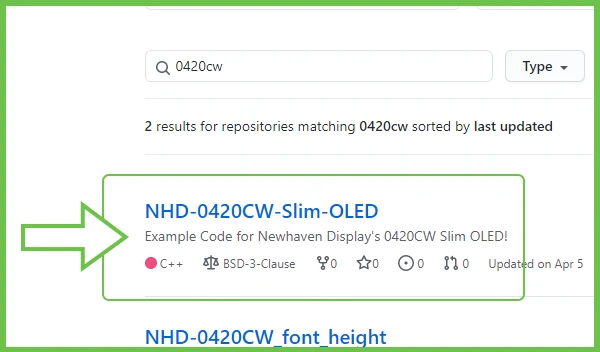 |
| 3. Open the demo code folder and find the .ino file inside. | 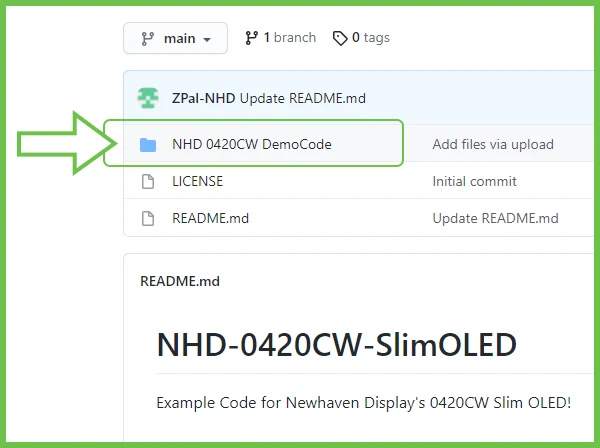 |
| 4. The full code will expand when you click the .ino file. Now you can copy the code directly from the page and paste it into your IDE. Be sure to copy the entire code beginning to end. | 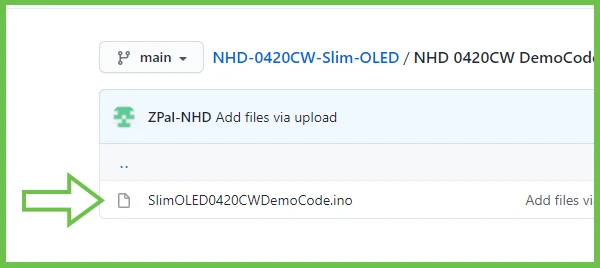 |
Upload Your Code to Arduino
| 1. Open the Arduino IDE and paste the copied code into the program. | 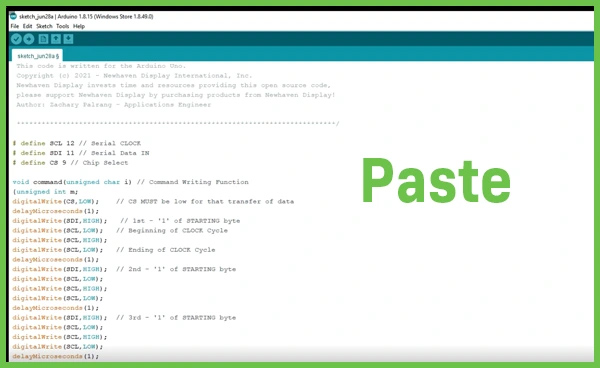 |
| 2. Open the tools tab to verify that the correct Arduino board and port are selected for uploading. | 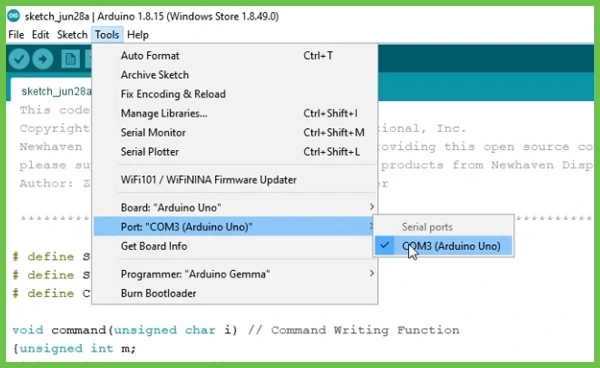 |
| 3. Click the arrow button in the top left corner of the window to begin uploading the program to Arduino. | 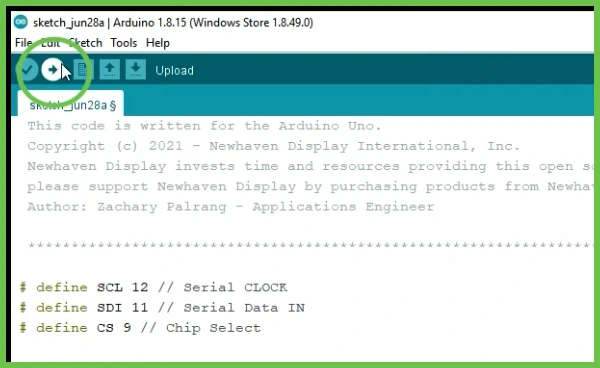 |
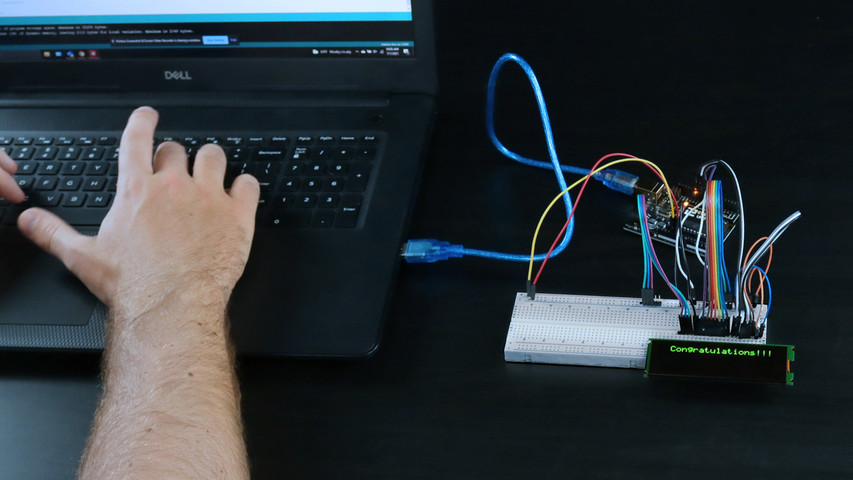
When the code is finished uploading, you will see the result on your display.
Congratulations!

You communicated with our 4x20 slim character OLED.
Watch the Video
Want to learn more? Our extended video tutorial covers everything in this post and shows you how to make custom changes to your code.